Hey there. 👋
Novice homebrewing is great. Losing temperature during the mash isn't. This post is all about keeping temps with small batch sizes and stainless steel mash tuns.
I did what my partner calls a "tiny science" and collected data on my stock pot, and how well my DIY insulation job fared.
Why 🤔
Why? Because buying equipment is expensive. And isn't homebrew all about doing it yourself?
Small Equipment 🔎
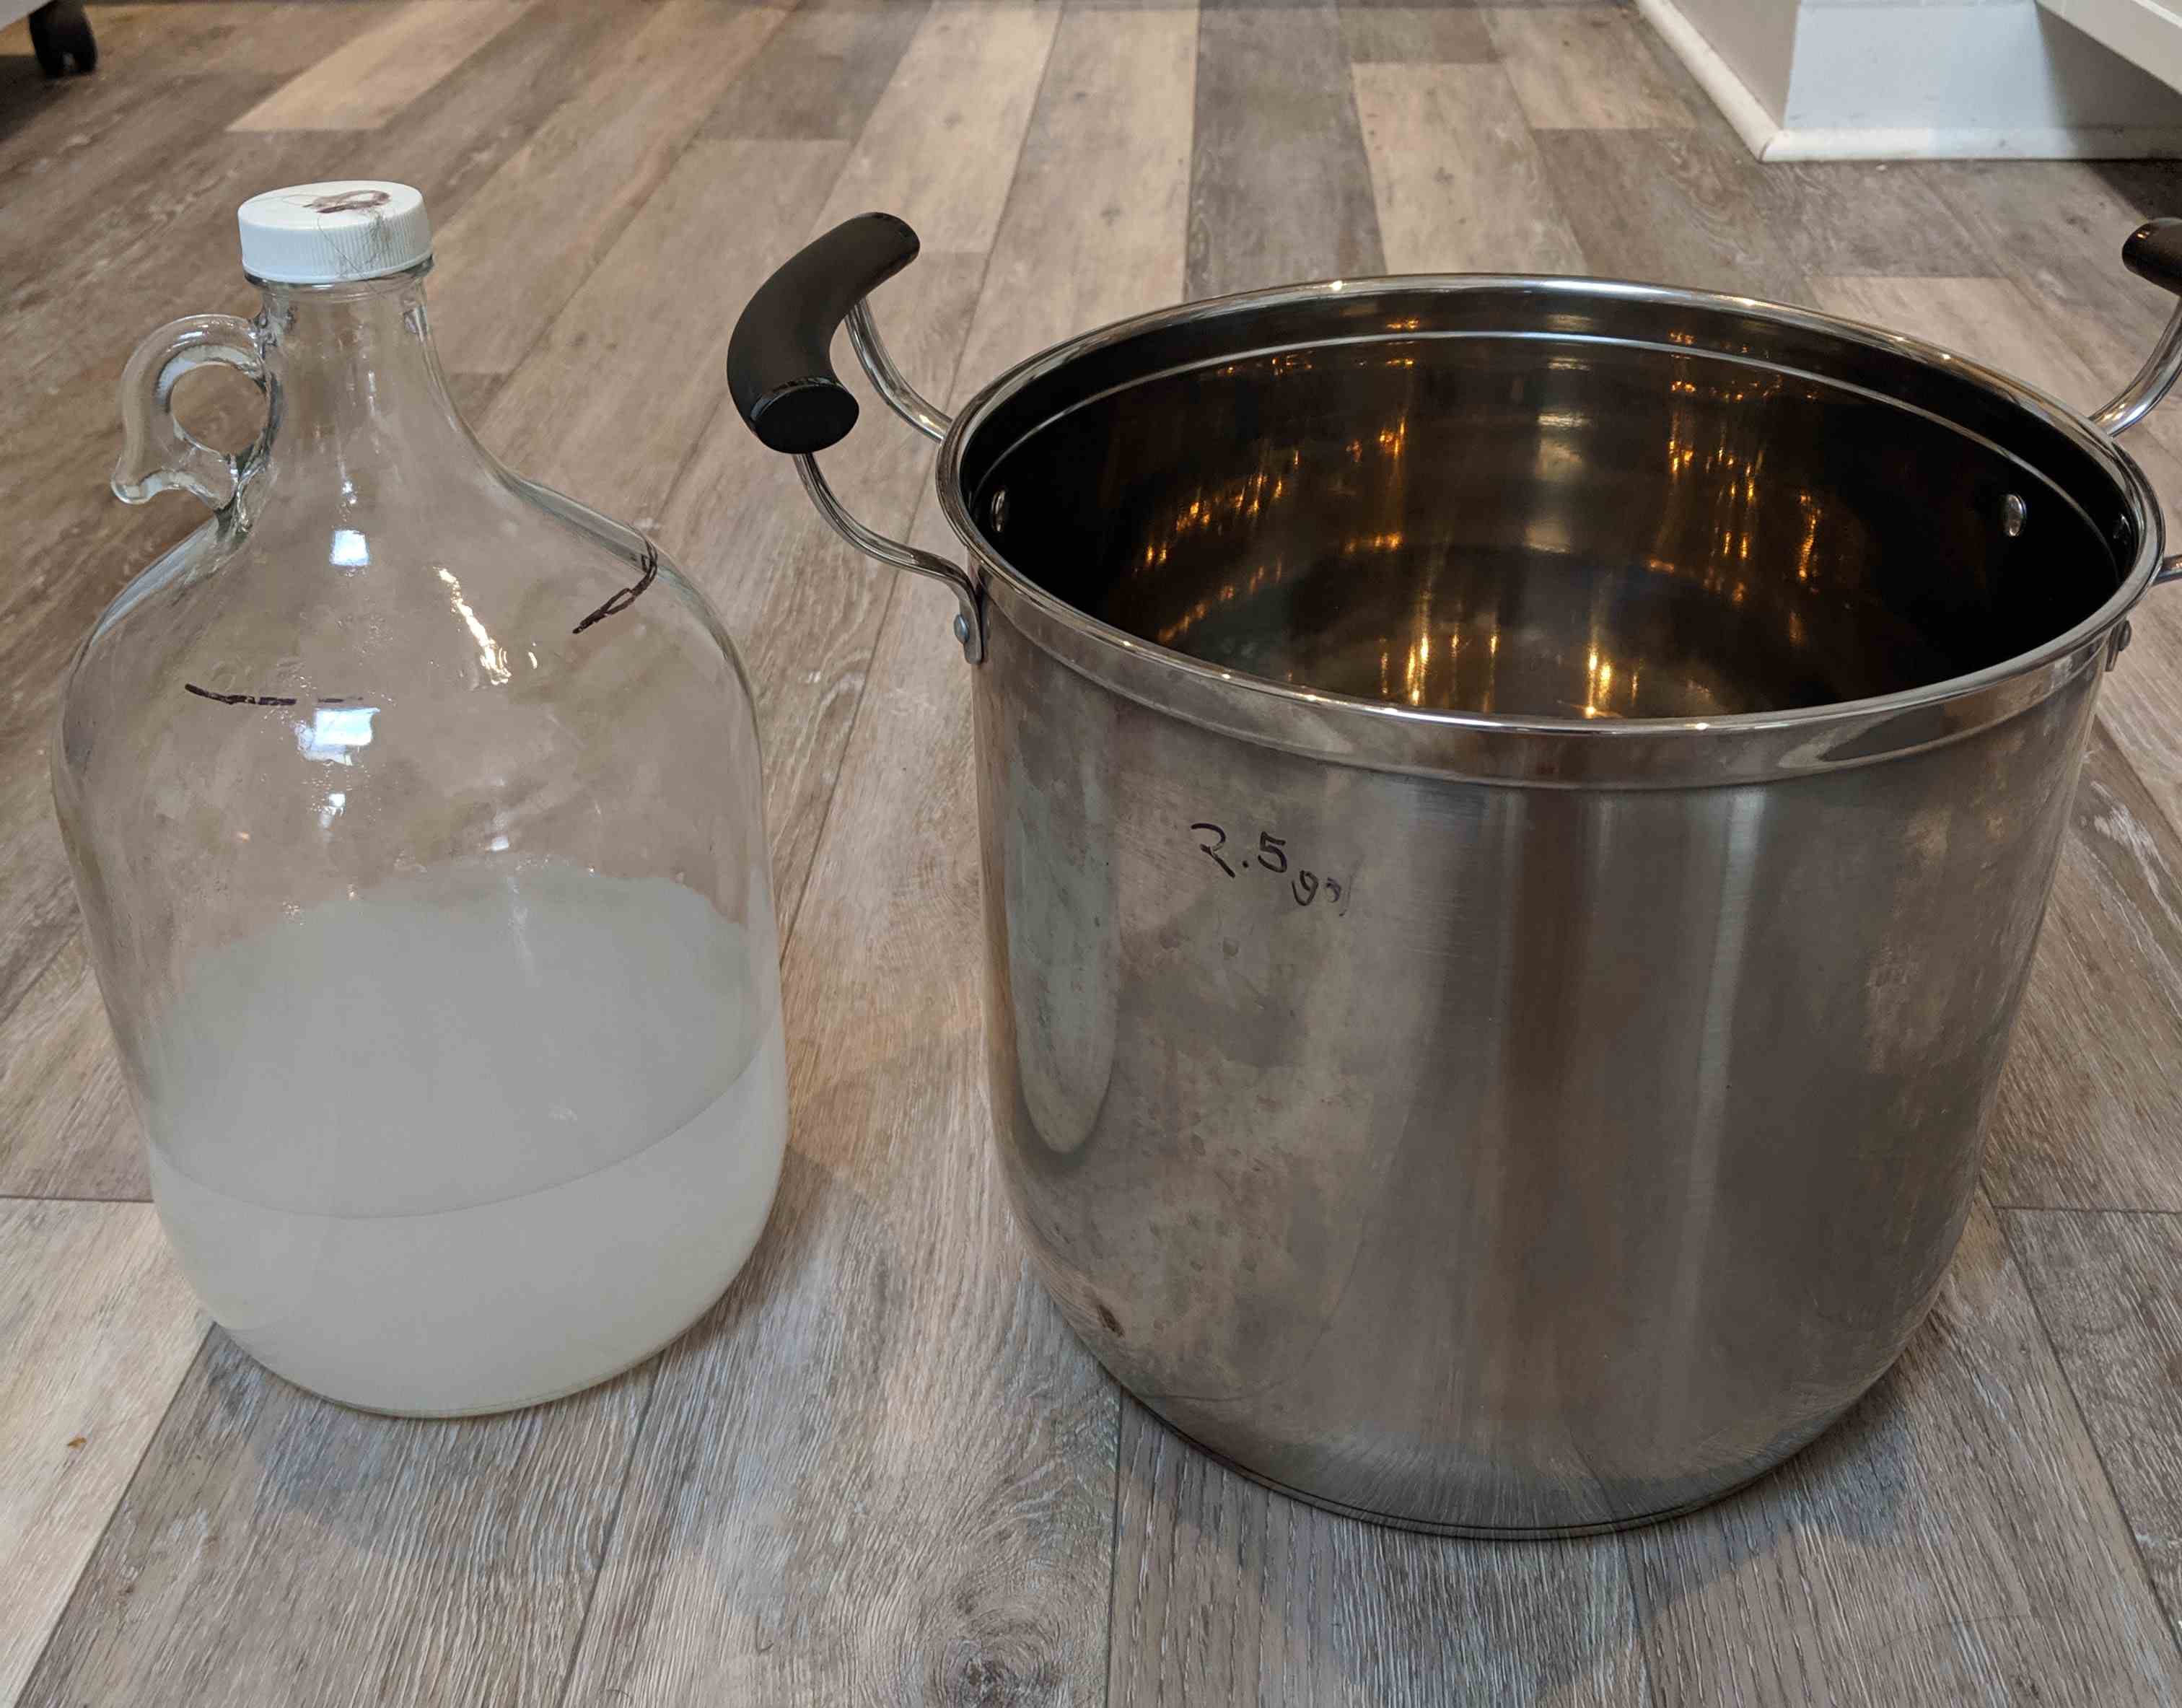
When I got my Brooklyn Brew Shop's Beer Making Kit for Christmas (great gift by the way). It only had a 1gal carboy, no mash tun or boil kettle in sight! I did what any reasonable person would do, I bought a ~3gal stock pot from Chinatown for $40 CAD. Two, in fact. They are my boil kettles, my mash tuns, and my liquor tanks.
Problem is, keeping temperatures stable during the mash using a steel pot at this scale is a miserable experience. Every 5 minutes I'm fussing and stressing, either overshooting (> 152°F) or undershooting (< 144°F) the temps. I can't figure out how severe the temperature gradient is: how cool is the top and how hot is the bottom. I've aggressively stirred to increase consistency throughout the mash, which lost heat overall. So I upped the burners, scorching the grain. Vicious cycle not worth the trouble. Screw that.
Saving Money (Sunk Cost?) 💸
I'm a cheap guy. I don't like my hobbies costing too much. I want to believe that DIY is half the fun, and it should also be half the cost.
Incremental Upgrades (Insulation!) 📈
I don't want to throw out my current stuff. I don't want to re-invest in new equipment. Apartment space in Toronto is a luxury, my two stock pots take up enough space. What can I do to make them better?
Instead of buying a cooler, I opted to insulate my one of my pots.
Fermware did an outstanding series on mash tun insulations (go check it out!). They're the ones who inspired me to do this upgrade. However their experiments were at a larger scale, using an electronic kettle/mash tun that most novices don't have or care to invest in. I can't trust that data will apply at my scale.
So I'm giving back to the homebrew community. My data is all about the little guy (well, little batches at least). This one is for you, The Novices, who are stingy like me and are saddled with a stock pot for a mash tun and crank out less than 3 gallon batches.
Insulation Methods 📋
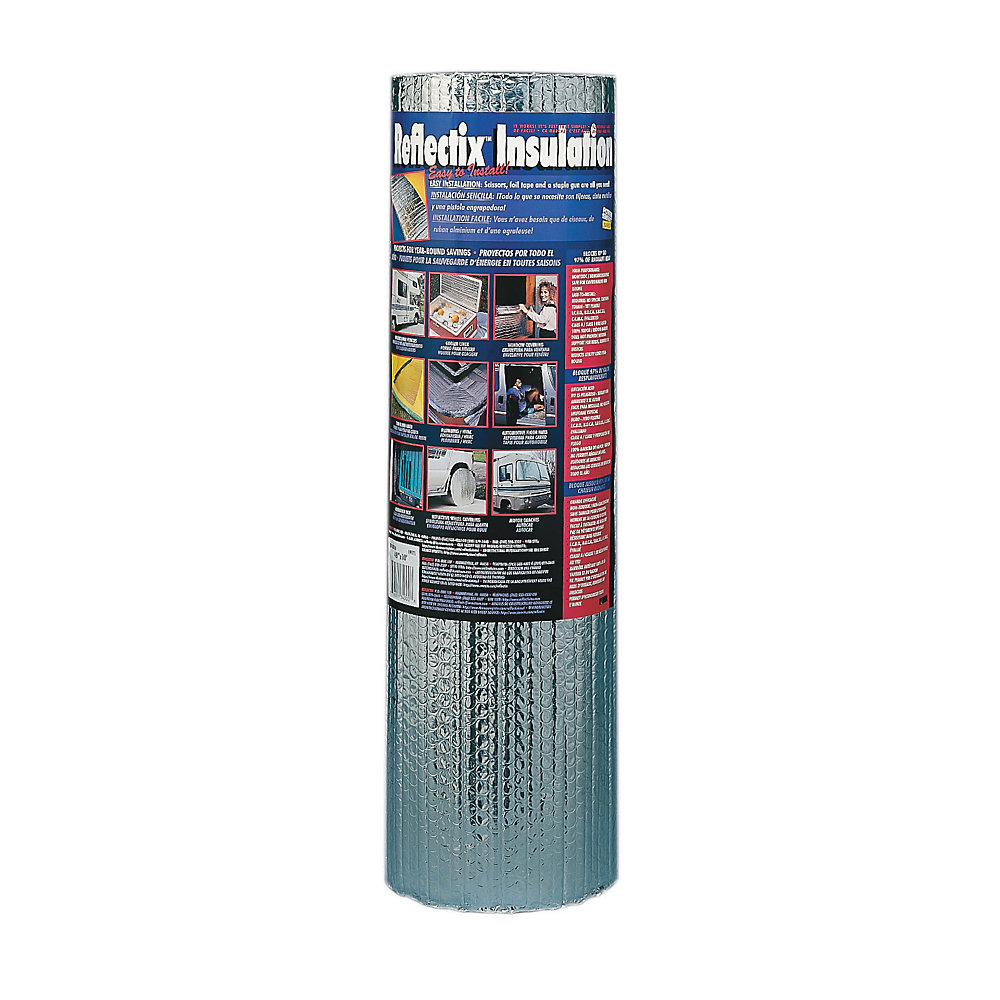
I only used Reflectix as insulation. Fermware gave me confidence in its efficacy and its affordable! Home Depot sells Reflectix Bubble Pack 2'x10' (Model #BP24010) for $24.98 CAD which gave me more than enough for this experiment.
Control
Hey! It wouldn't be an experiment without a control, eh? Plus I get to finally see how quickly this sucker cools without me fussing with it.
Reflectix "Jacket"
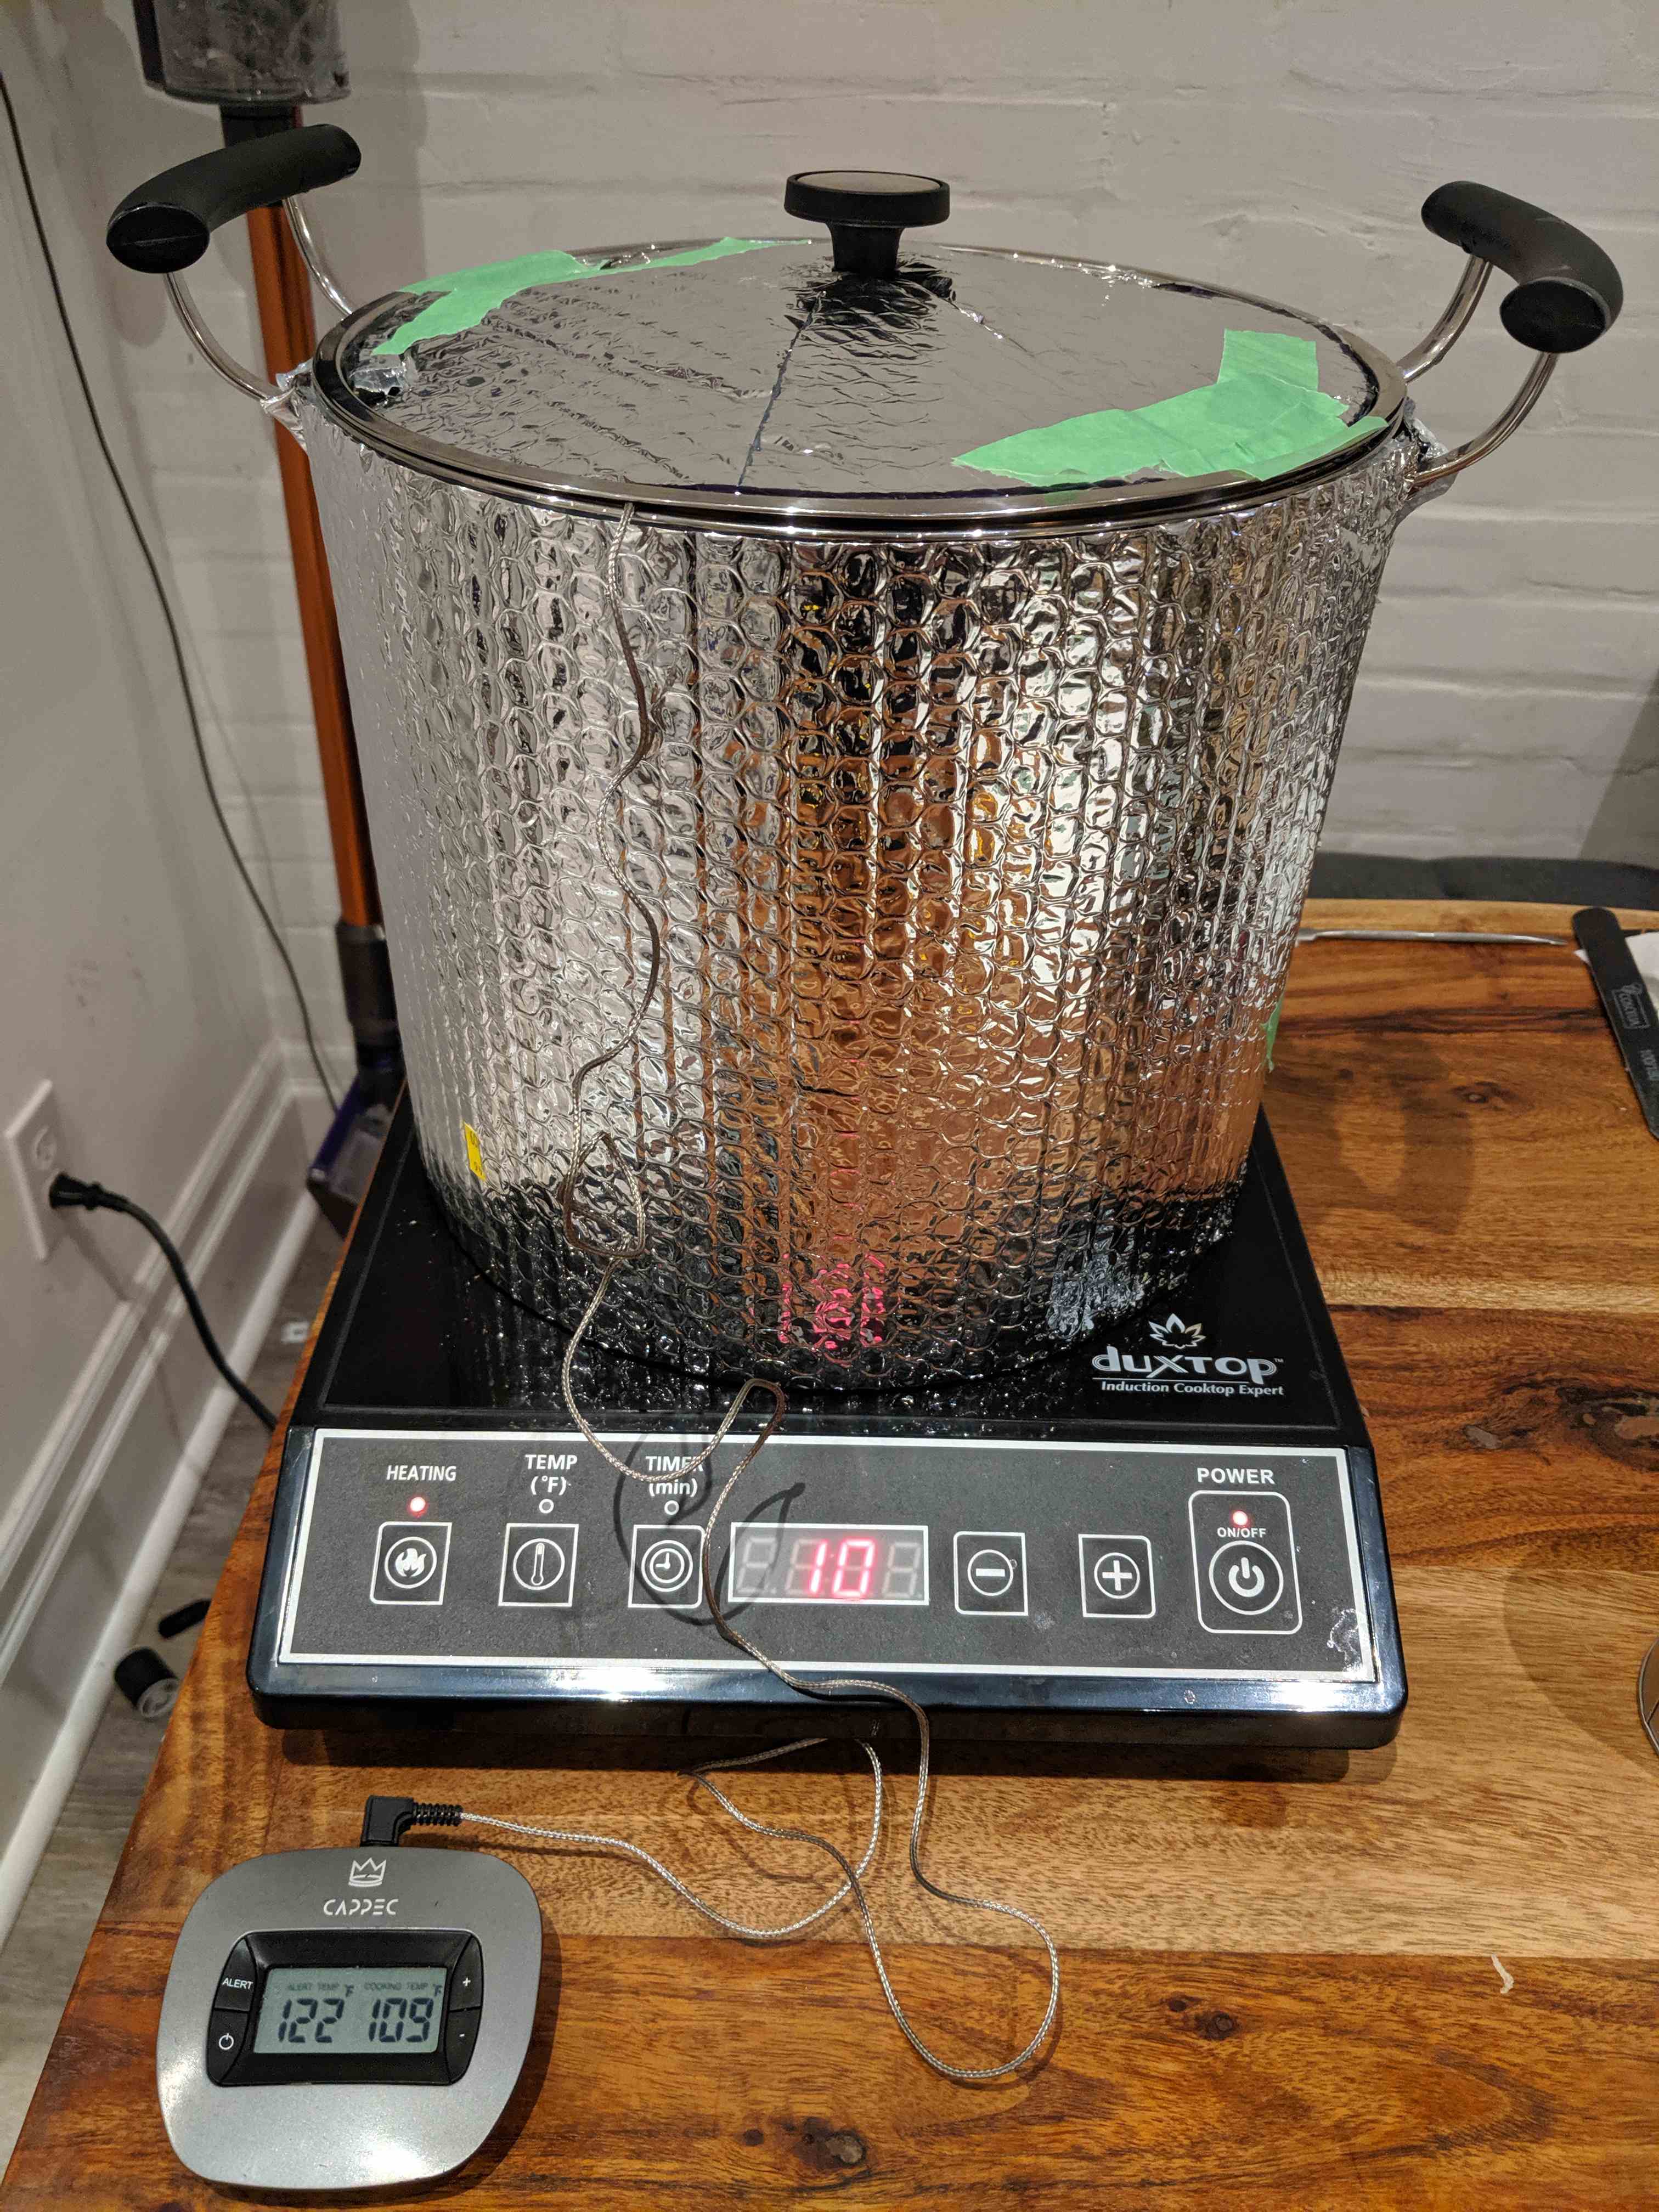
A nice, clean, single layer of Reflectix wrapped around the pot. Installed into the lid as well.
Triple-layered Reflectix "Jacket"
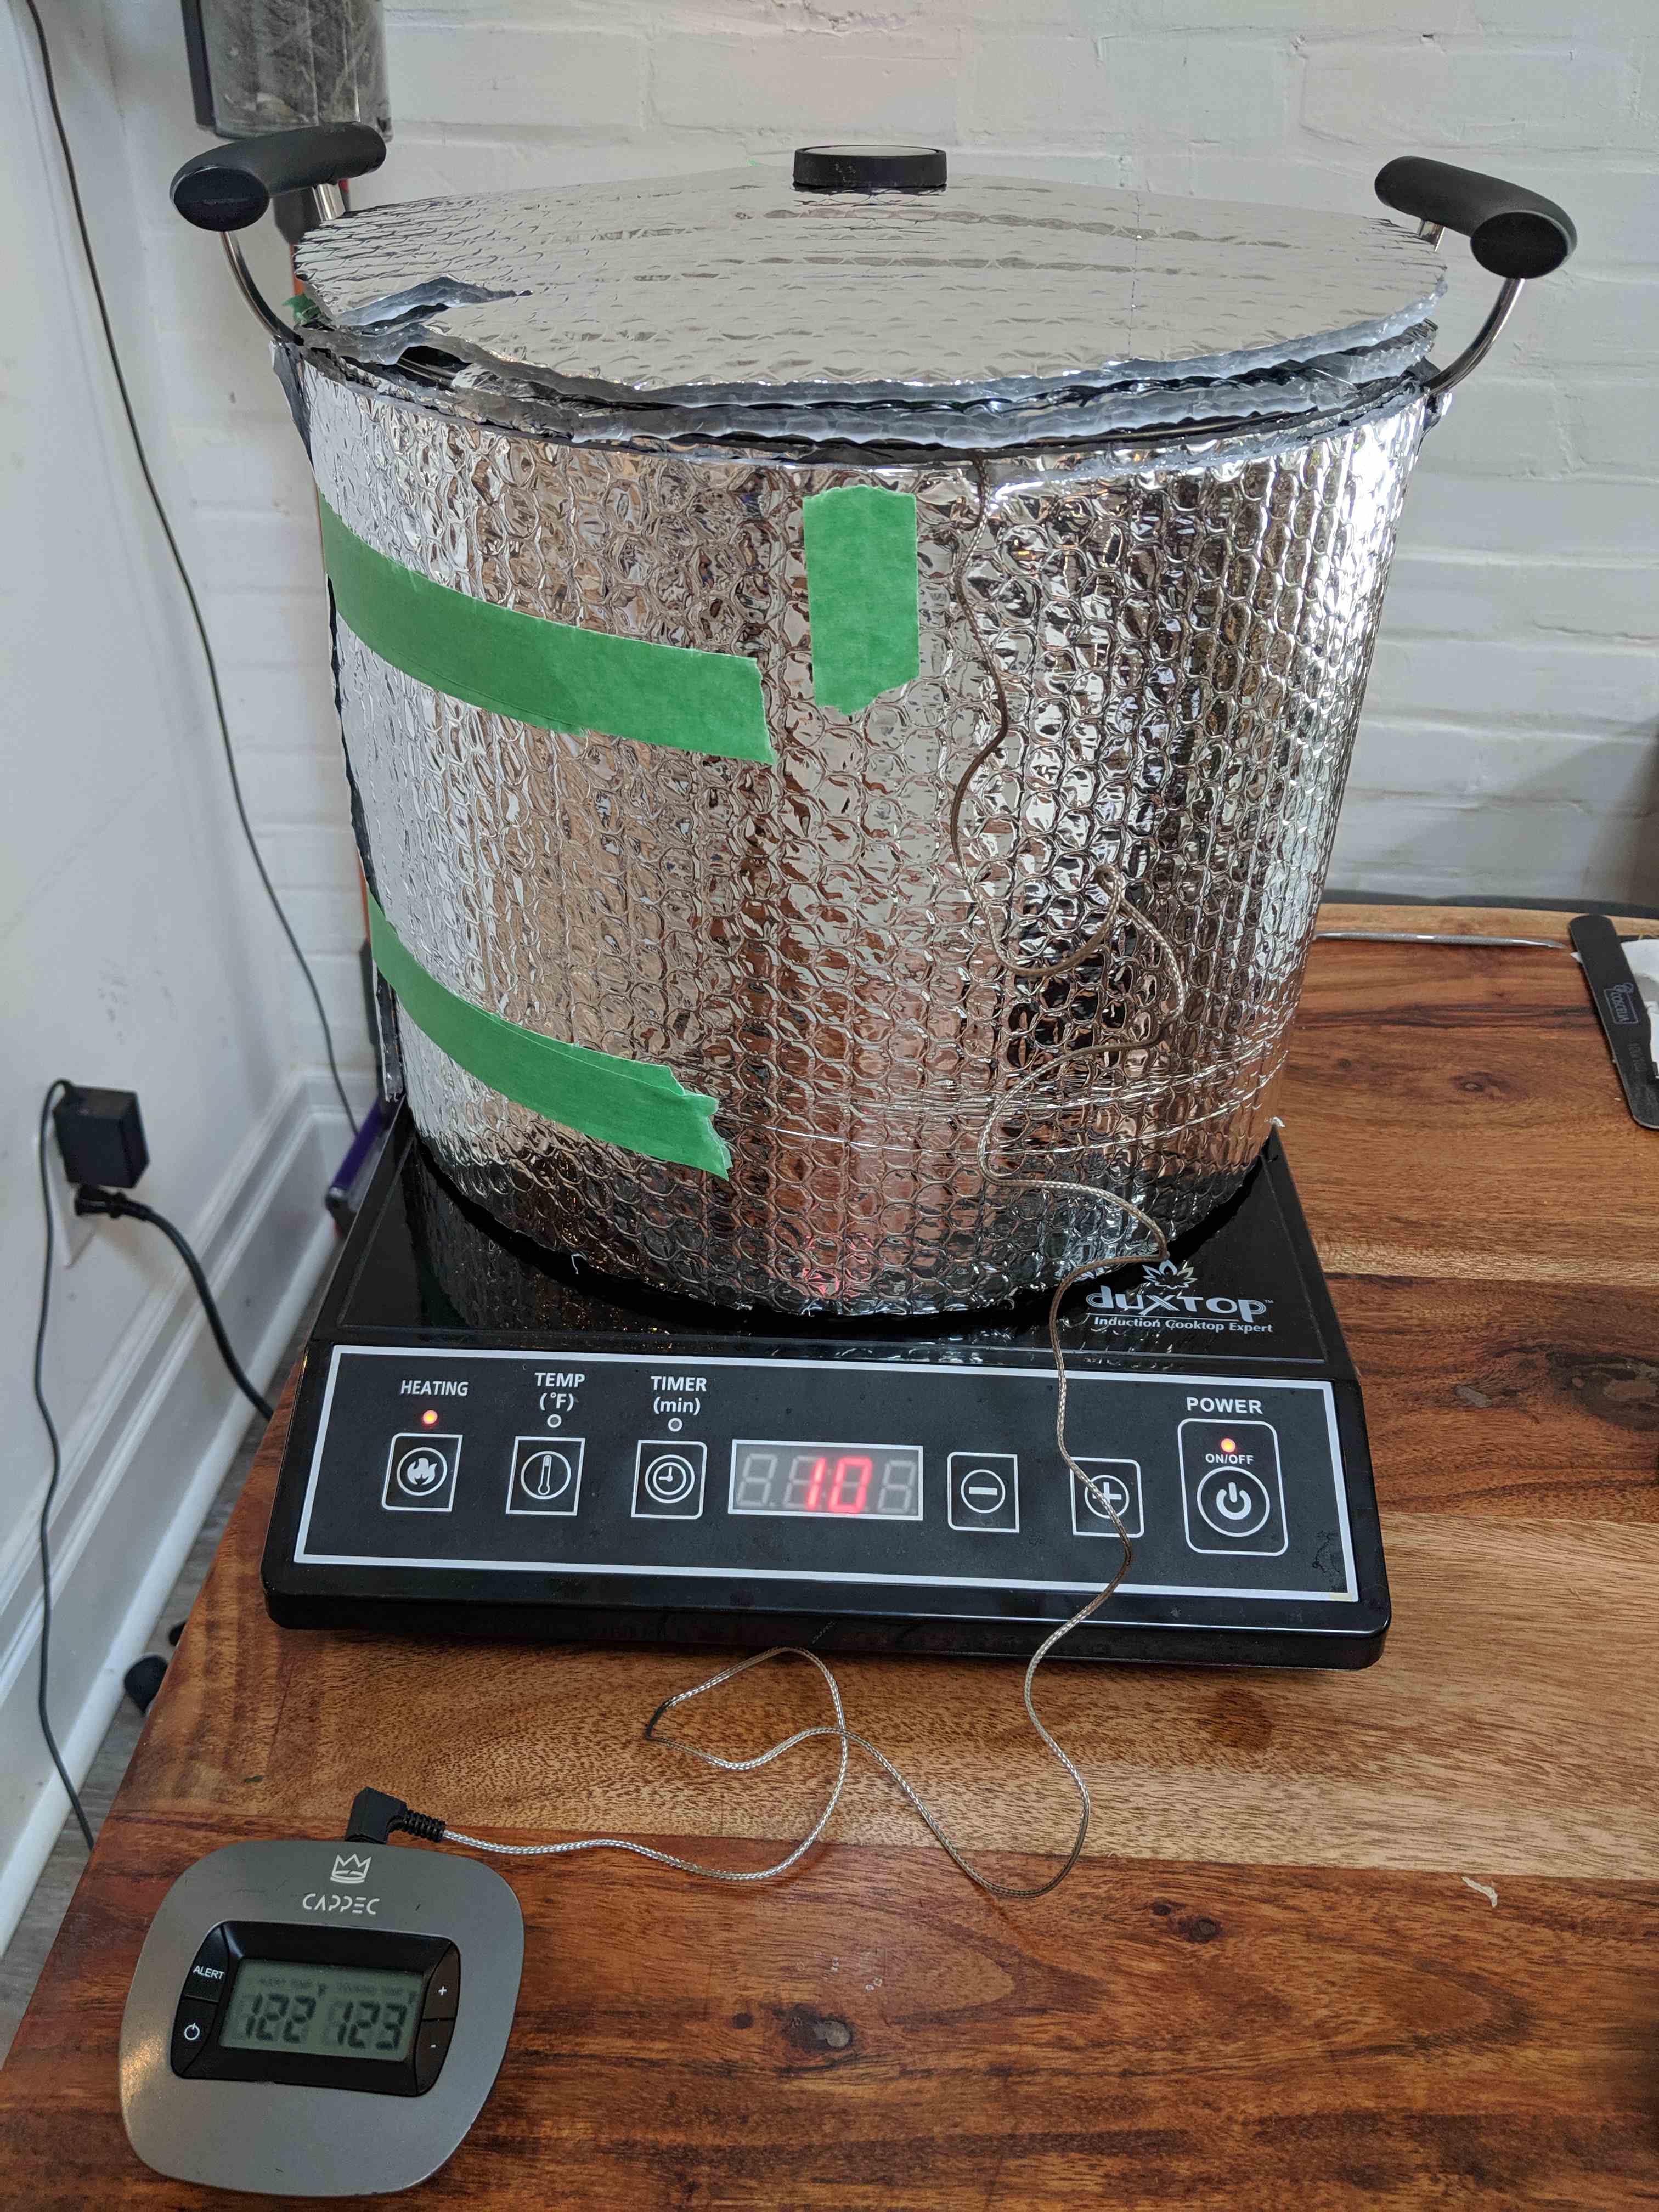
Take the above, but do it three times! This to see if the temps could be improved with a thicker wall.
I didn't bother with the 2cm gap method as recommended by Reflectix for hot water tanks since Fermware's data showed little difference and a 3-layer jacket is cumbersome enough as it is.
Methodology 🔬🧪👨🔬
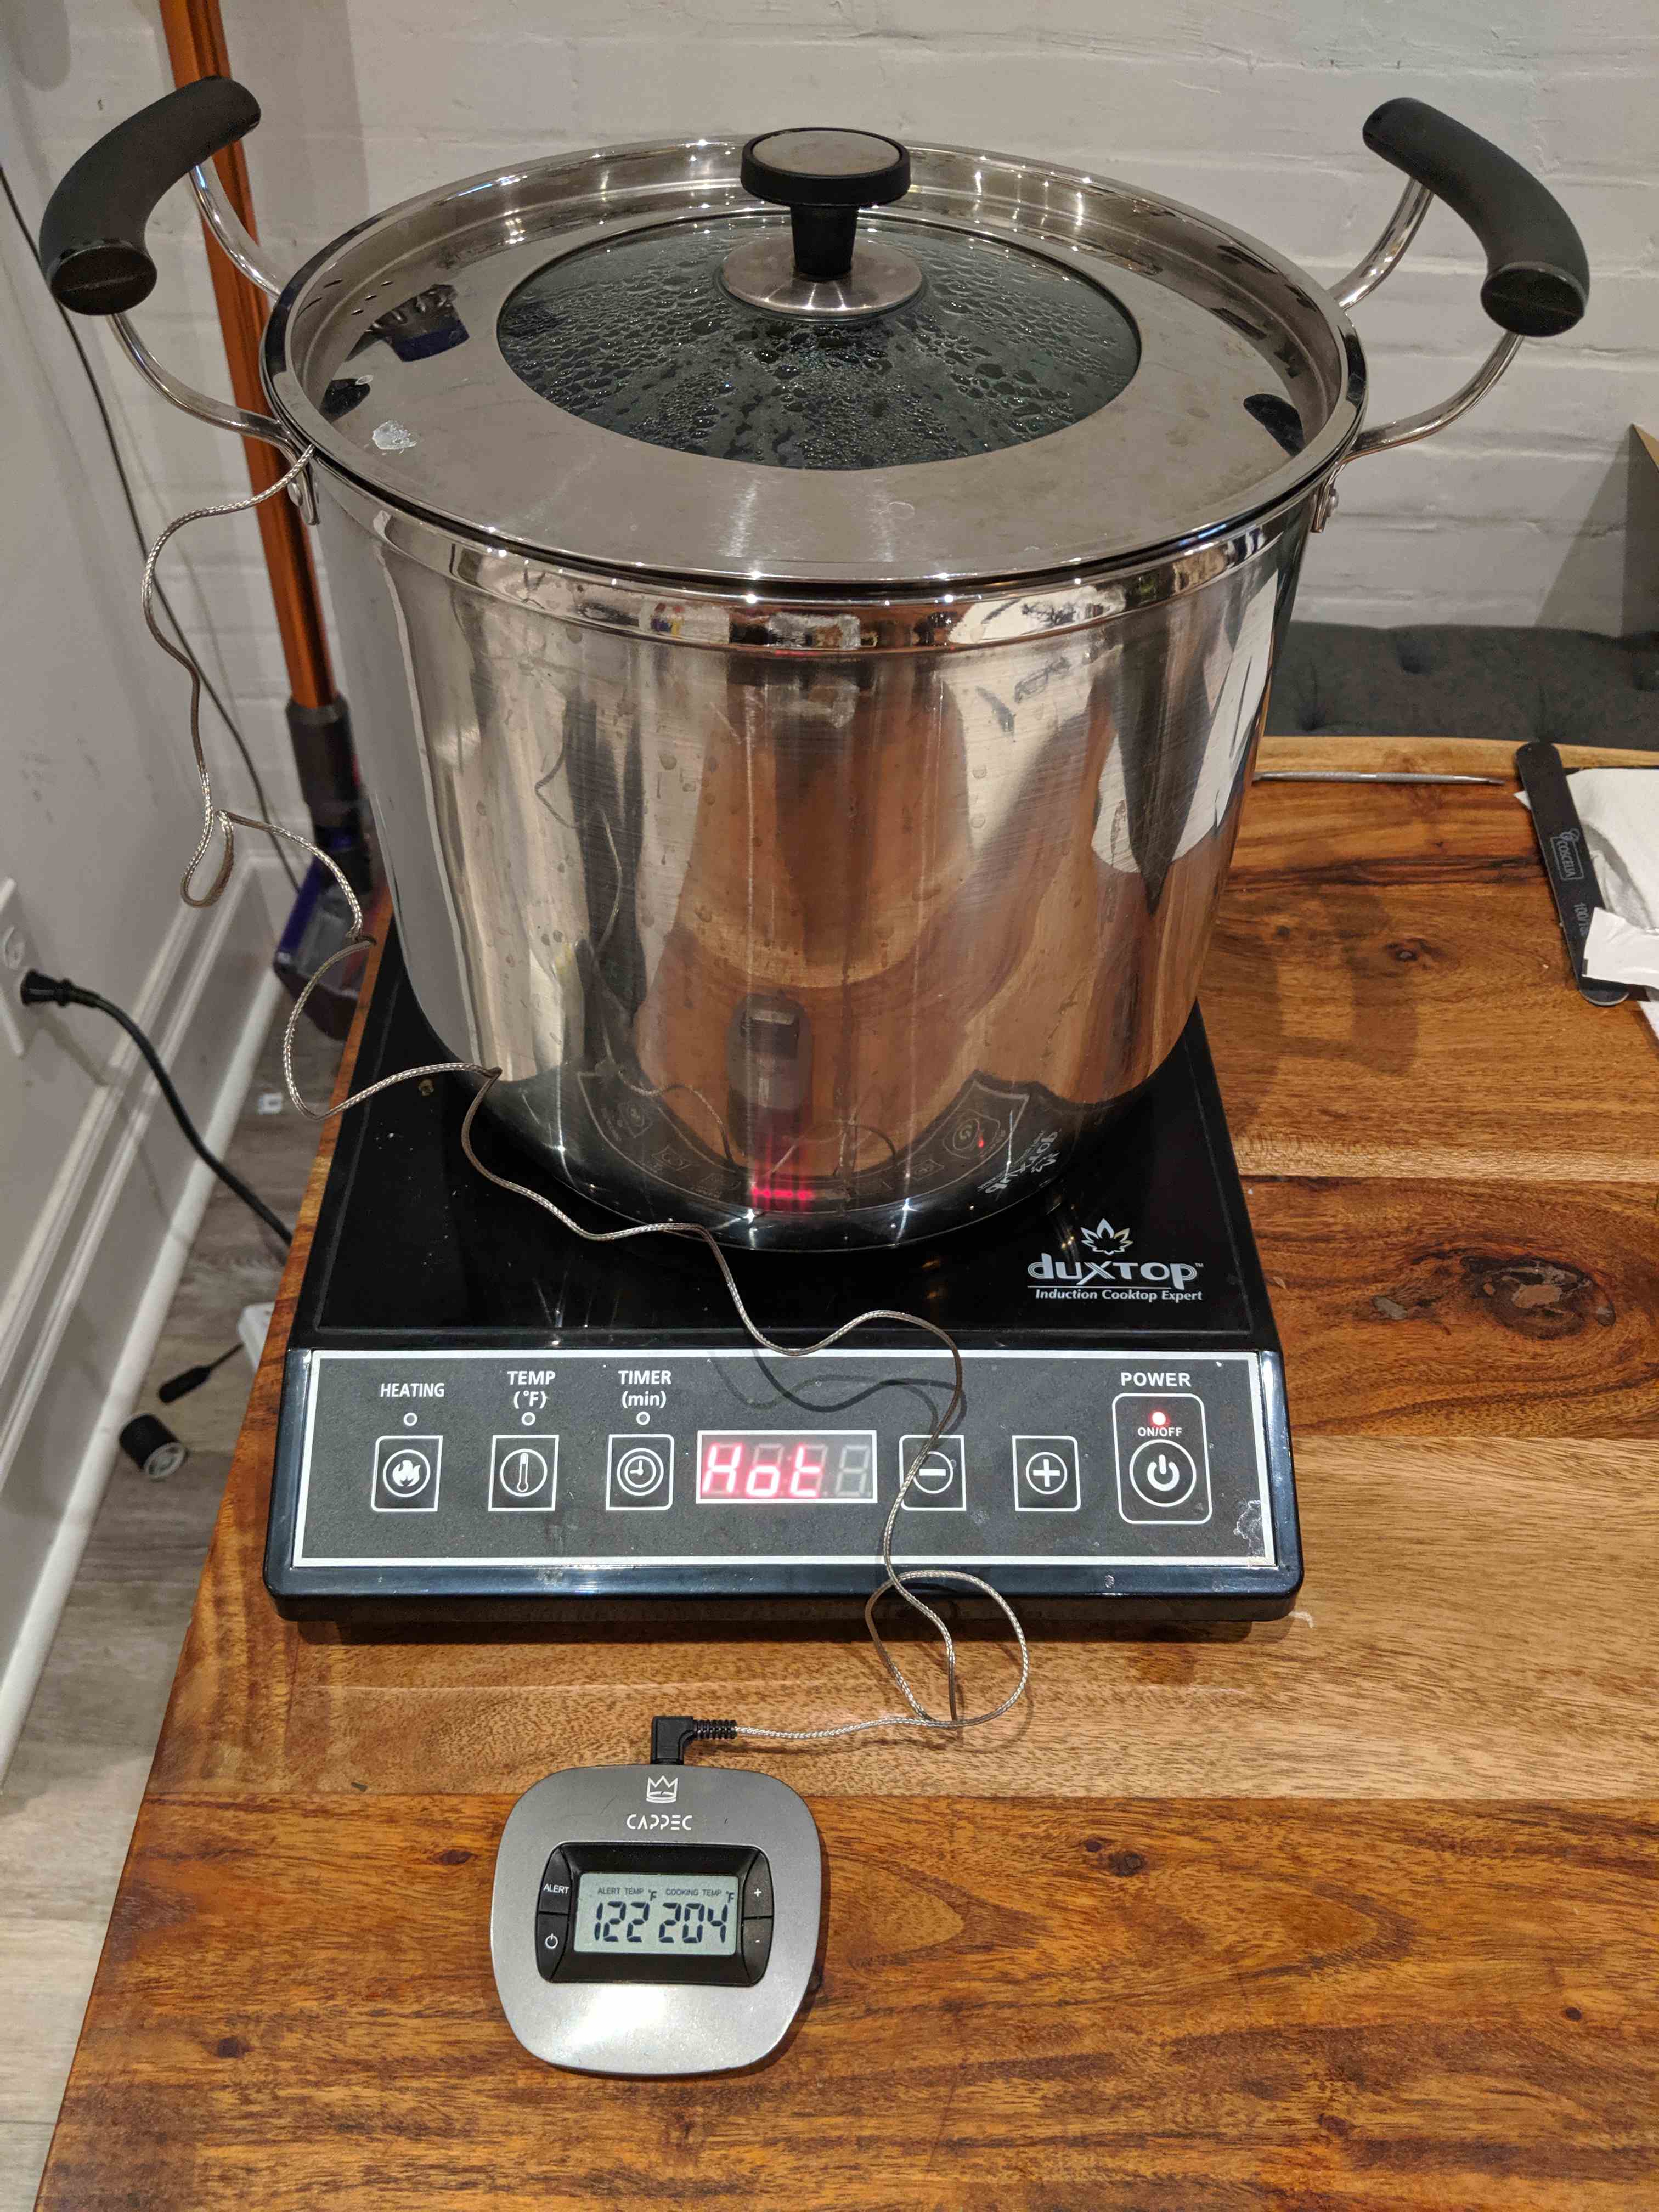
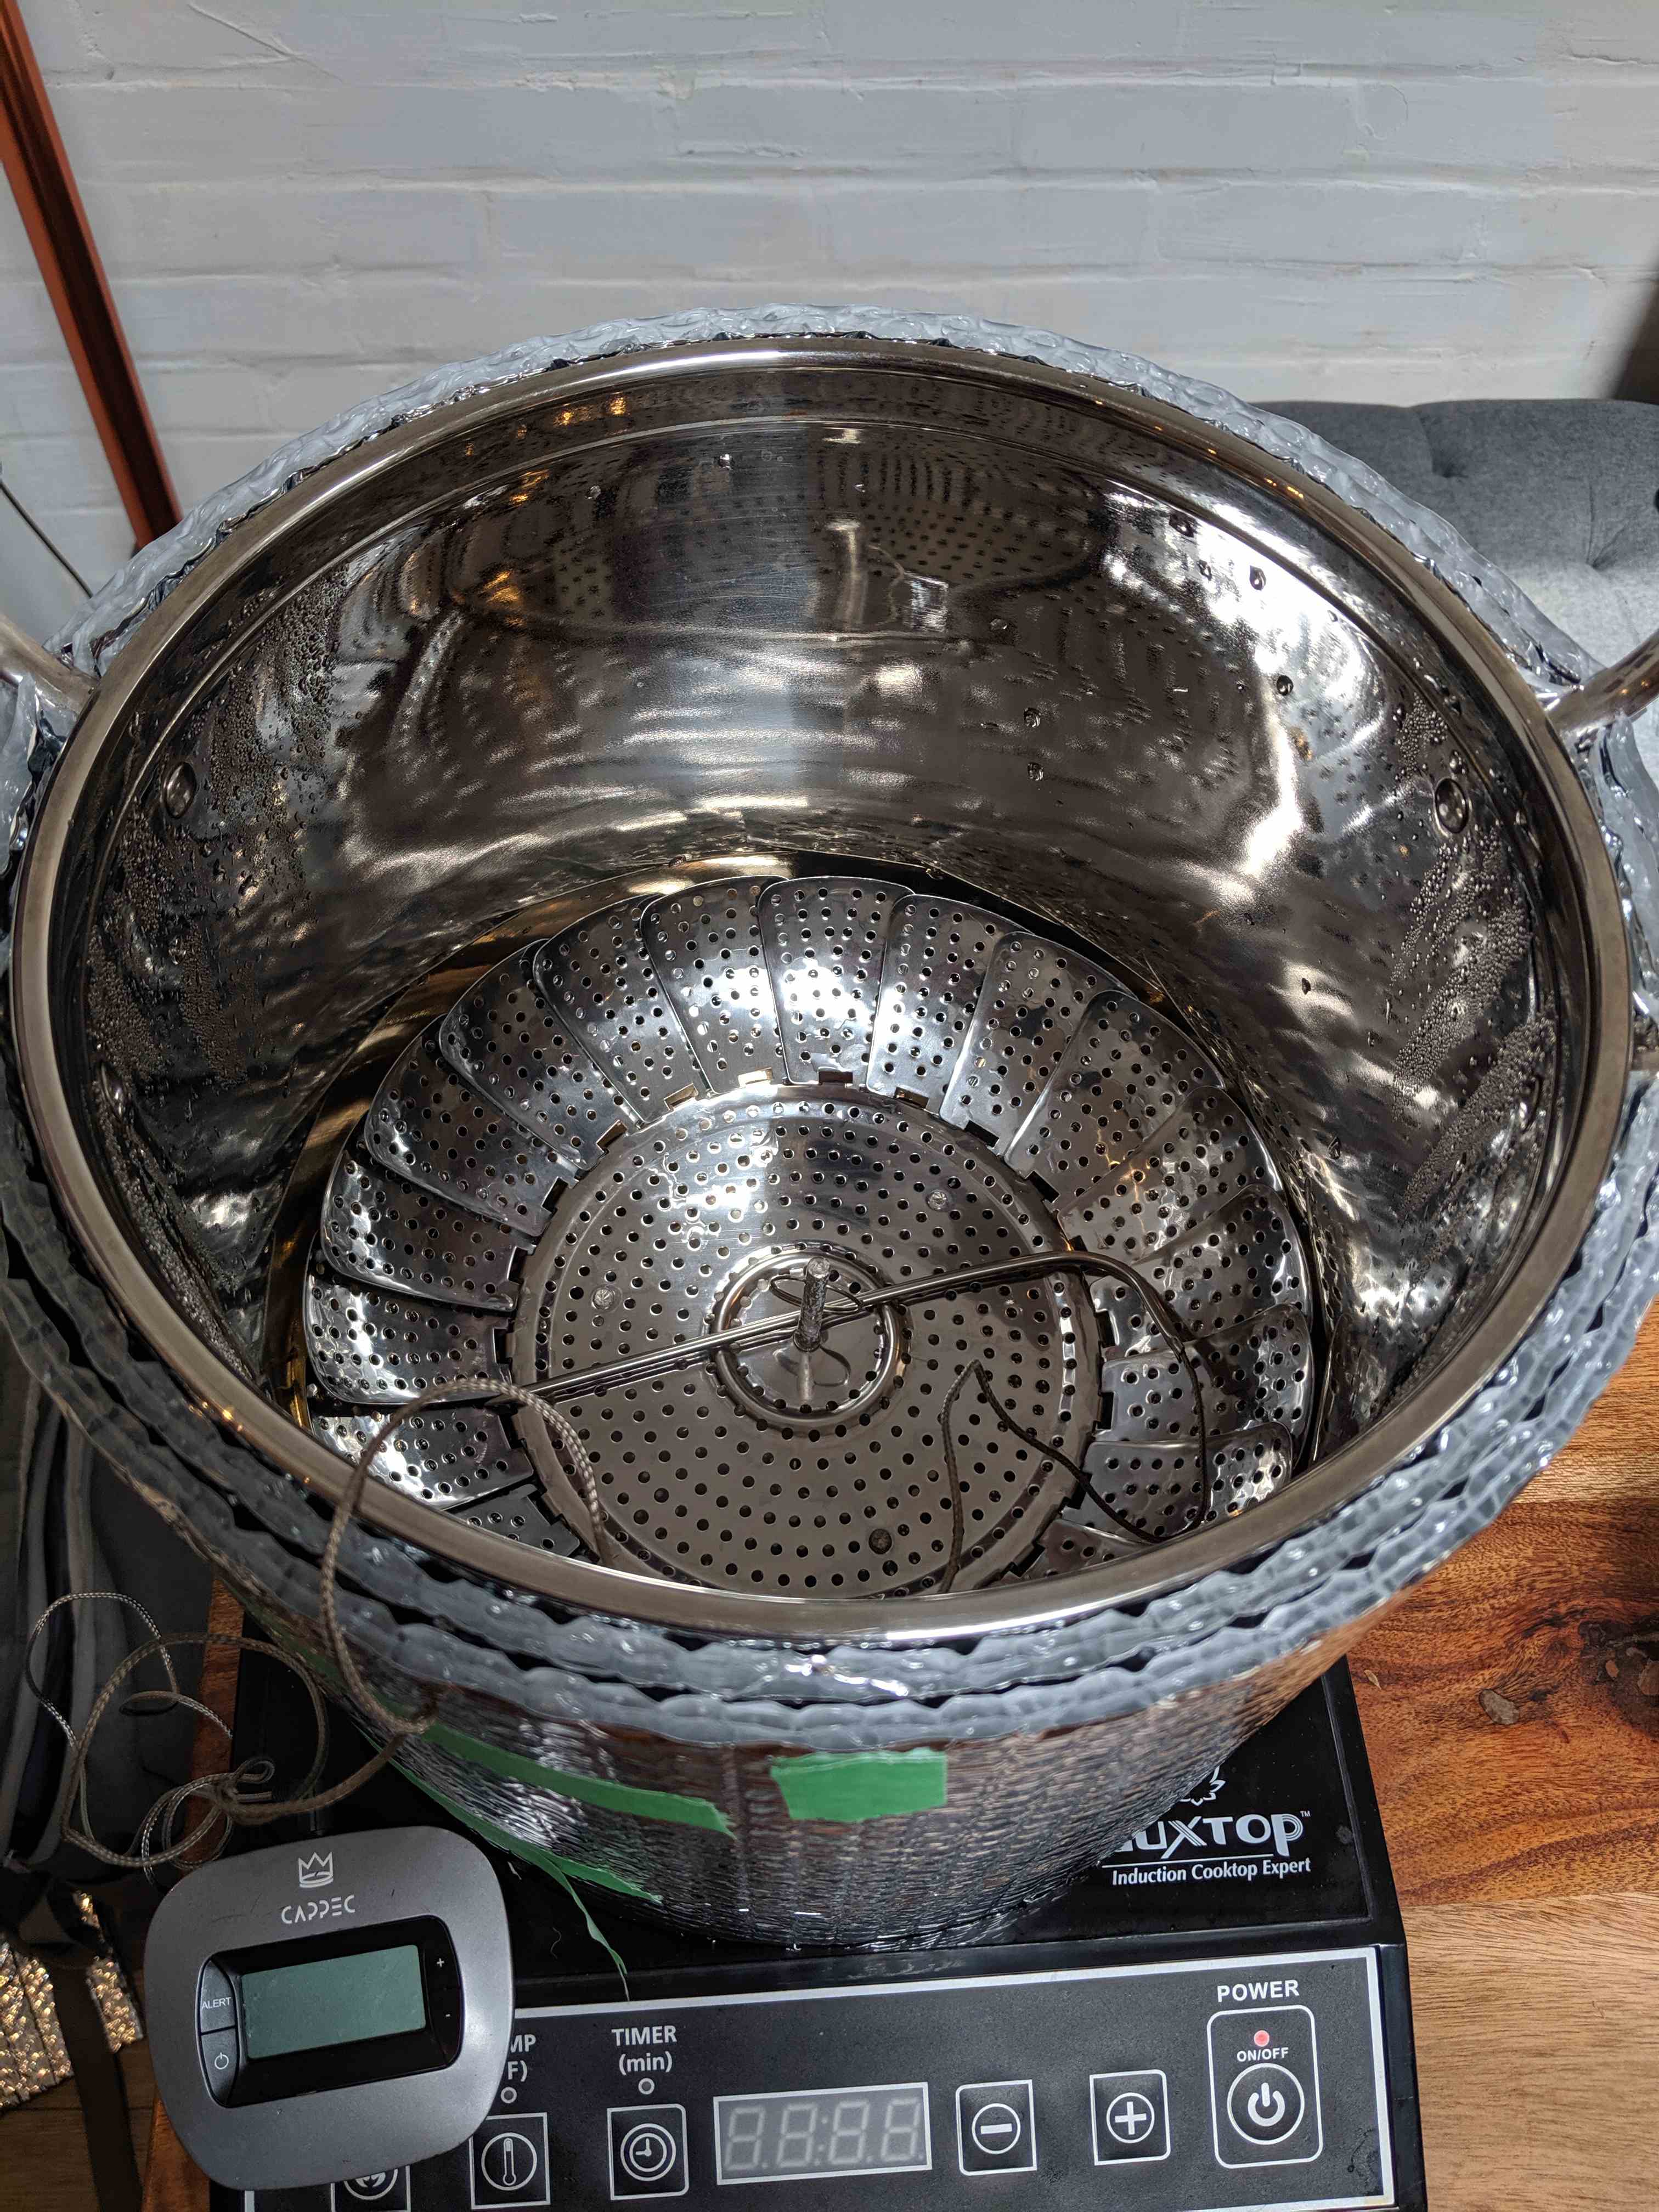
We're using a ~3gal stock pot. It has a steam basket on the inside as a false bottom. The temperature probe rests on top of the steam basket, raising it approx. 1 inch above the bottom of the pot.
The probe is some digital oven thermometer I had laying around: it's stainless steel and appears to be waterproof.
Because my brews thus far have been for 1 gallon batches (I need to upgrade my carboy!), we'll only be using 1 gallon of water for the test. Plus this will show just how temperamental keeping low volumes at a consistent temperature.
Heat is applied using my portable induction stove (Duxtop 9100MC). I have an induction stove because electric ranges suck, lag getting up to temp, and raise my energy bill with wasted heat. I recommend you get one for cooking!
 |
 |
Steps
- Bring the 1 gallon of water up to 160°F using stove's max heat
- Once at temperature, turn off the stove and start the timer
- Every 10min, record the temperature as indicated on my oven thermometer thing.
- Don't disturb it: no taking off the lid or stirring the water.
- Graph the data! 🎉
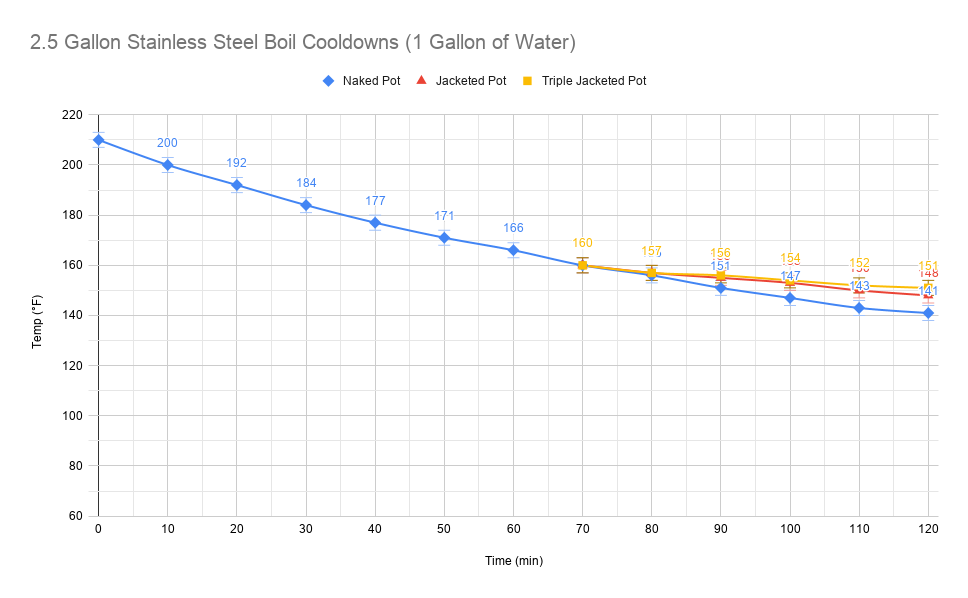
"Shut up! Results!" 📊
Ok fine.
Discussion 🗣
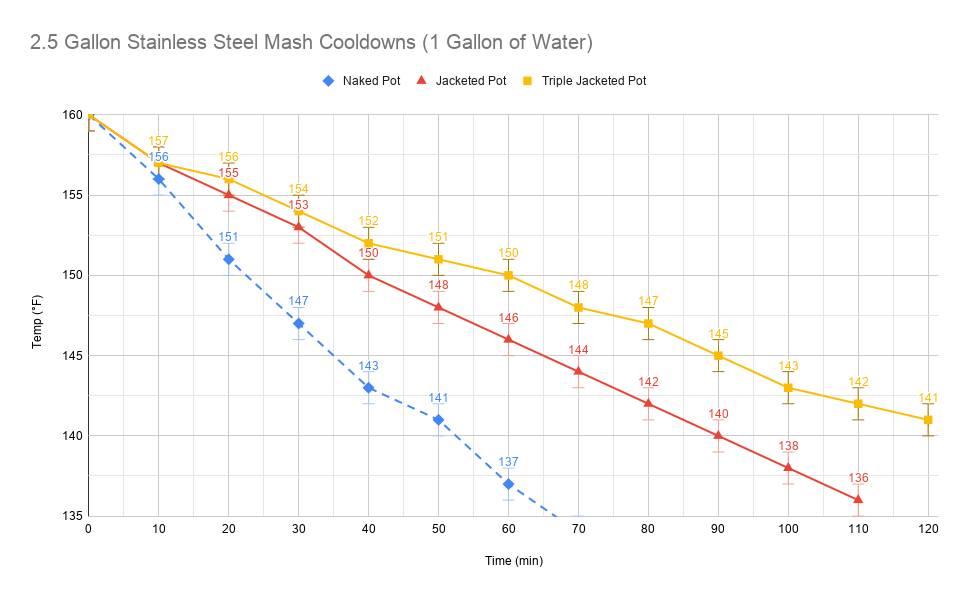
I don't think anyone is surprised. This is consistent with Fermware's lab results although slightly steeper curves. I credit this exclusively to the fact I have less thermal mass to work with.
The resolution of my data isn't the best. I'm manually checking a thermometer of unknown calibration, with zero-decimal precision, every 10min using a stopwatch. You can see the lines are a bit bumpy. I would say any measurement has a ±0.5°F margin of error.
Another error in my methodology is turning off the stove exactly at 160°F. A better approach would have been bringing it to 165°F, watch it fall, and begin data collection & timing at the 160°F mark. This may explain the sudden "drop" at the beginning for both insulation tests.
Despite all that, it's clear from the data insulation is a marked improvement:
Control slope: (160-134)/(0.00-70.0) = -0.371 °F/min
Jacket slope: (160-136)/(0.00-110) = -0.218 °F/min
Triple Jacket slope: (160-141)/(0.00-120) = -0.158 °F/min
From the above slope calculations, we can see the jacket is 1.70x better than control and triple jacket is 2.35x better than control, losing only 1.58°F every 10 minutes.
Conclusion 🎉
Had I known what I know now, the instant I unwrapped that homebrew kit gift, I'd have turned around and buy a water cooler immediately. Maybe even get one of those conversion kits with the spigot and integrated brew thermometer.
But I didn't, so here we are. We're working with what we got. Not surprisingly, the 3-layered jacket performs the best, losing only ~1.6°F every 10min. Thanks to being on an induction, I can apply a small amount of heat once or twice to keep exactly where I want it during a 60 minute mash. A definite pro against a regular cooler. This is a satisfying result that competes with an insulated cooler mash tun.
The single layer method doesn't look to be worth the trouble: you're just selling yourself short. With the extra insulation available and minimal additional bulk, I don't see why you wouldn't just triple-up and enjoy improved temp stability.
I will be keeping this setup for all of my future homebrews! I can only expect it will be even easier with 2 or 3 gallon brews. 😌
Addendum
I originally started this experiment be beginning with boiled water (100°C / 212°F) but quickly discovered I didn't want to remain shackled at my dinner table for more than 9 hours to collect the full data set.
Enjoy the bonus chart where I stuck to it for the control. Note the curve trend!